Well, first lets start with an idea of what you need, we will get you a quote (hint, use the form below) and hopefully you have a design or basic idea in mind
Next, our art team will work with you to get that design looking great
While that is happening, our customer service team will work with you on picking out styles, qty’s and sizes
Once you approve your artwork, we can move into the production phase
We separate the colors in your artwork and print out your design on clear plastic sheets using a printer we have setup that has UV Light Blocking Inks, we call these films
Once the films are printed, they head into the dark room (yup just like old fashion photography), were the production team will take each film and burn the image into the screen one at a time
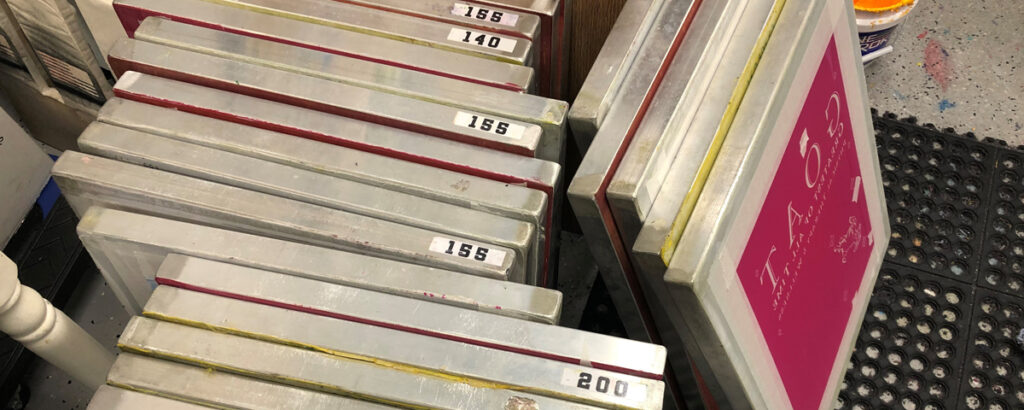
The screens are covered with emulsion prior to this, we use aluminum screens that feature all different sizes of mesh so we can achieve the screen quality you need. For example, high detailed artwork will have a high mesh count (256 holes per inch) while designs that need glitter ink will use an 86 mesh count (86 holes per ink so glitter can be pushed thru.
After the image is burned into the screen on our light box, we take it out of the dark room and wet it down. Yup, that’s right with a hose and water in our wash out booth
After about a minute we blow the screen out using a pressure washer, like the ones you use to clean a deck
What is left, is a screen with your image in it
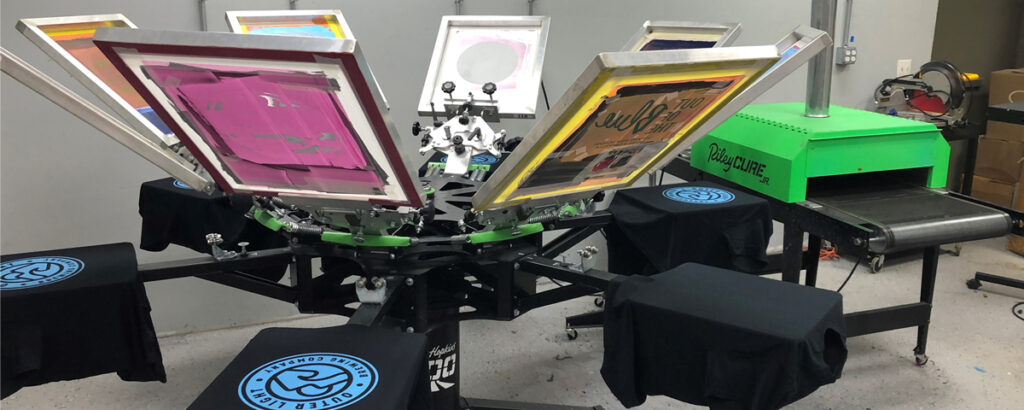
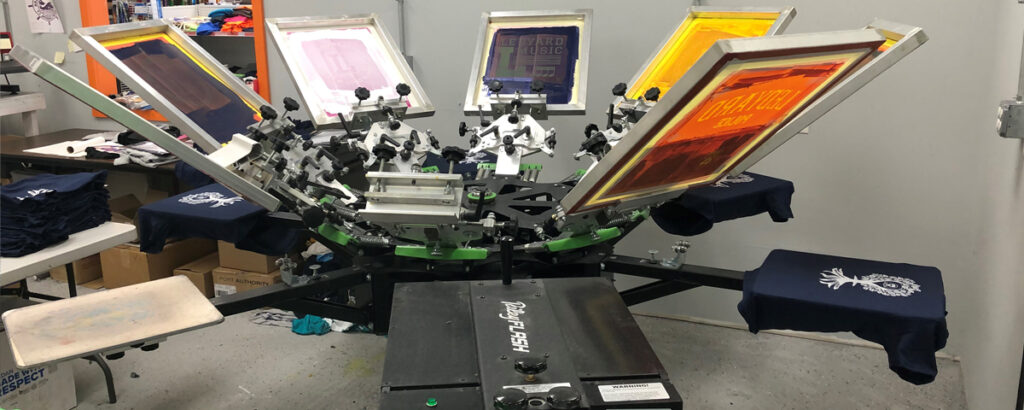
That screen then gets tapped up to keep the ink in it, and gets attached to the printing press
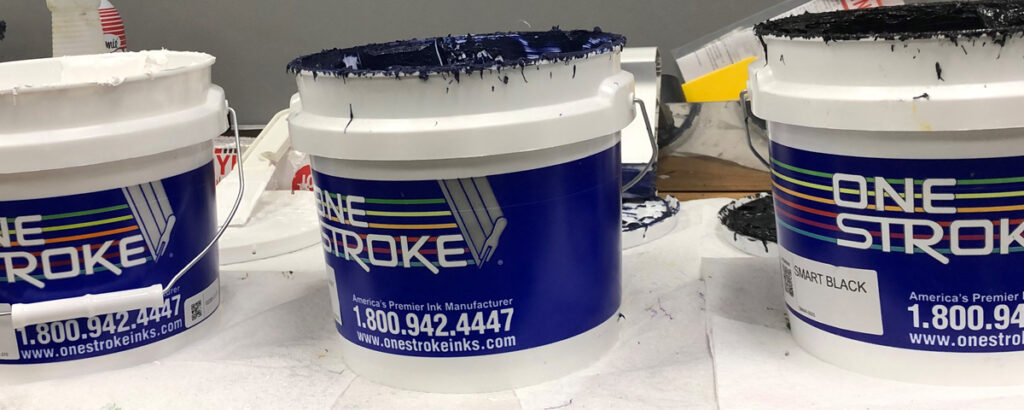
We throw some ink in it, if we have other colors in the design we line them all up, do a test print
If everything looks good, your job starts printing
In between each color hit, the shirt goes under a high temp flasher, where it helps to cure the ink just enough for the next color
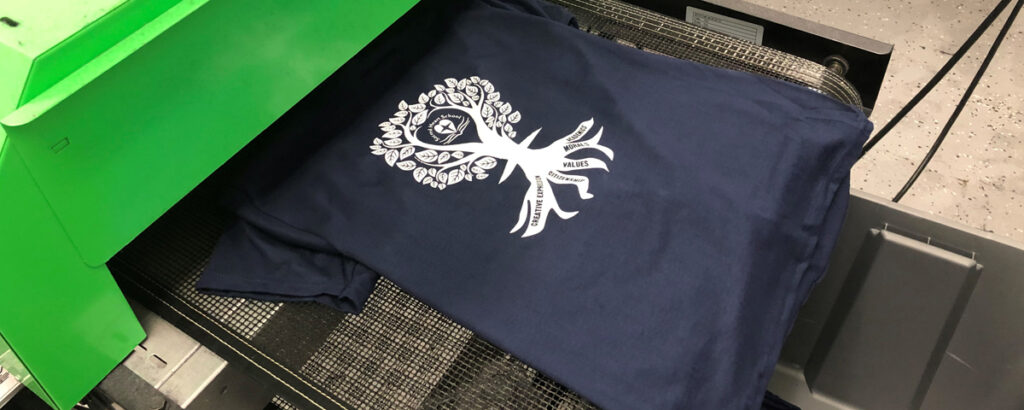
Once all the colors are done printing, the item goes into our conveyor heater, we get it up to over 325 degrees, and then it rolls out the other end into a box